“Hovering” Over Hungry Bass With A Japanese-Inspired Finesse Rig
The following appears in the June issue of California Sportsman:
By Mark Fong
The hover strolling rig is the latest Japanese finesse sensation to gain mainstream notoriety in the bass fishing universe. For a while now, those in the know have been tight-lipped, but fueled by social media and recent tournament successes, the proverbial cat is now out of the bag.
INTRODUCING THE HOVER RIG
The hover rig is a clever rigging method that allows an angler to effectively present a soft plastic offering in a natural horizontal orientation. It is a great tool for targeting uncooperative or highly pressured bass that just don’t want to bite.
The hover rig can be fished very slowly while maintaining its position in the water column, an attribute that makes it ideal for targeting suspended bass. When allowed to fall on a semi-slack line, the hover rig produces an erratic gliding action that is a strong trigger for reluctant fish.
Because it is a relatively slow way to fish, the hover rig is not well suited for covering water, but it excels once fish have been located, making it the perfect partner to use with today’s new forward-facing sonar technology.
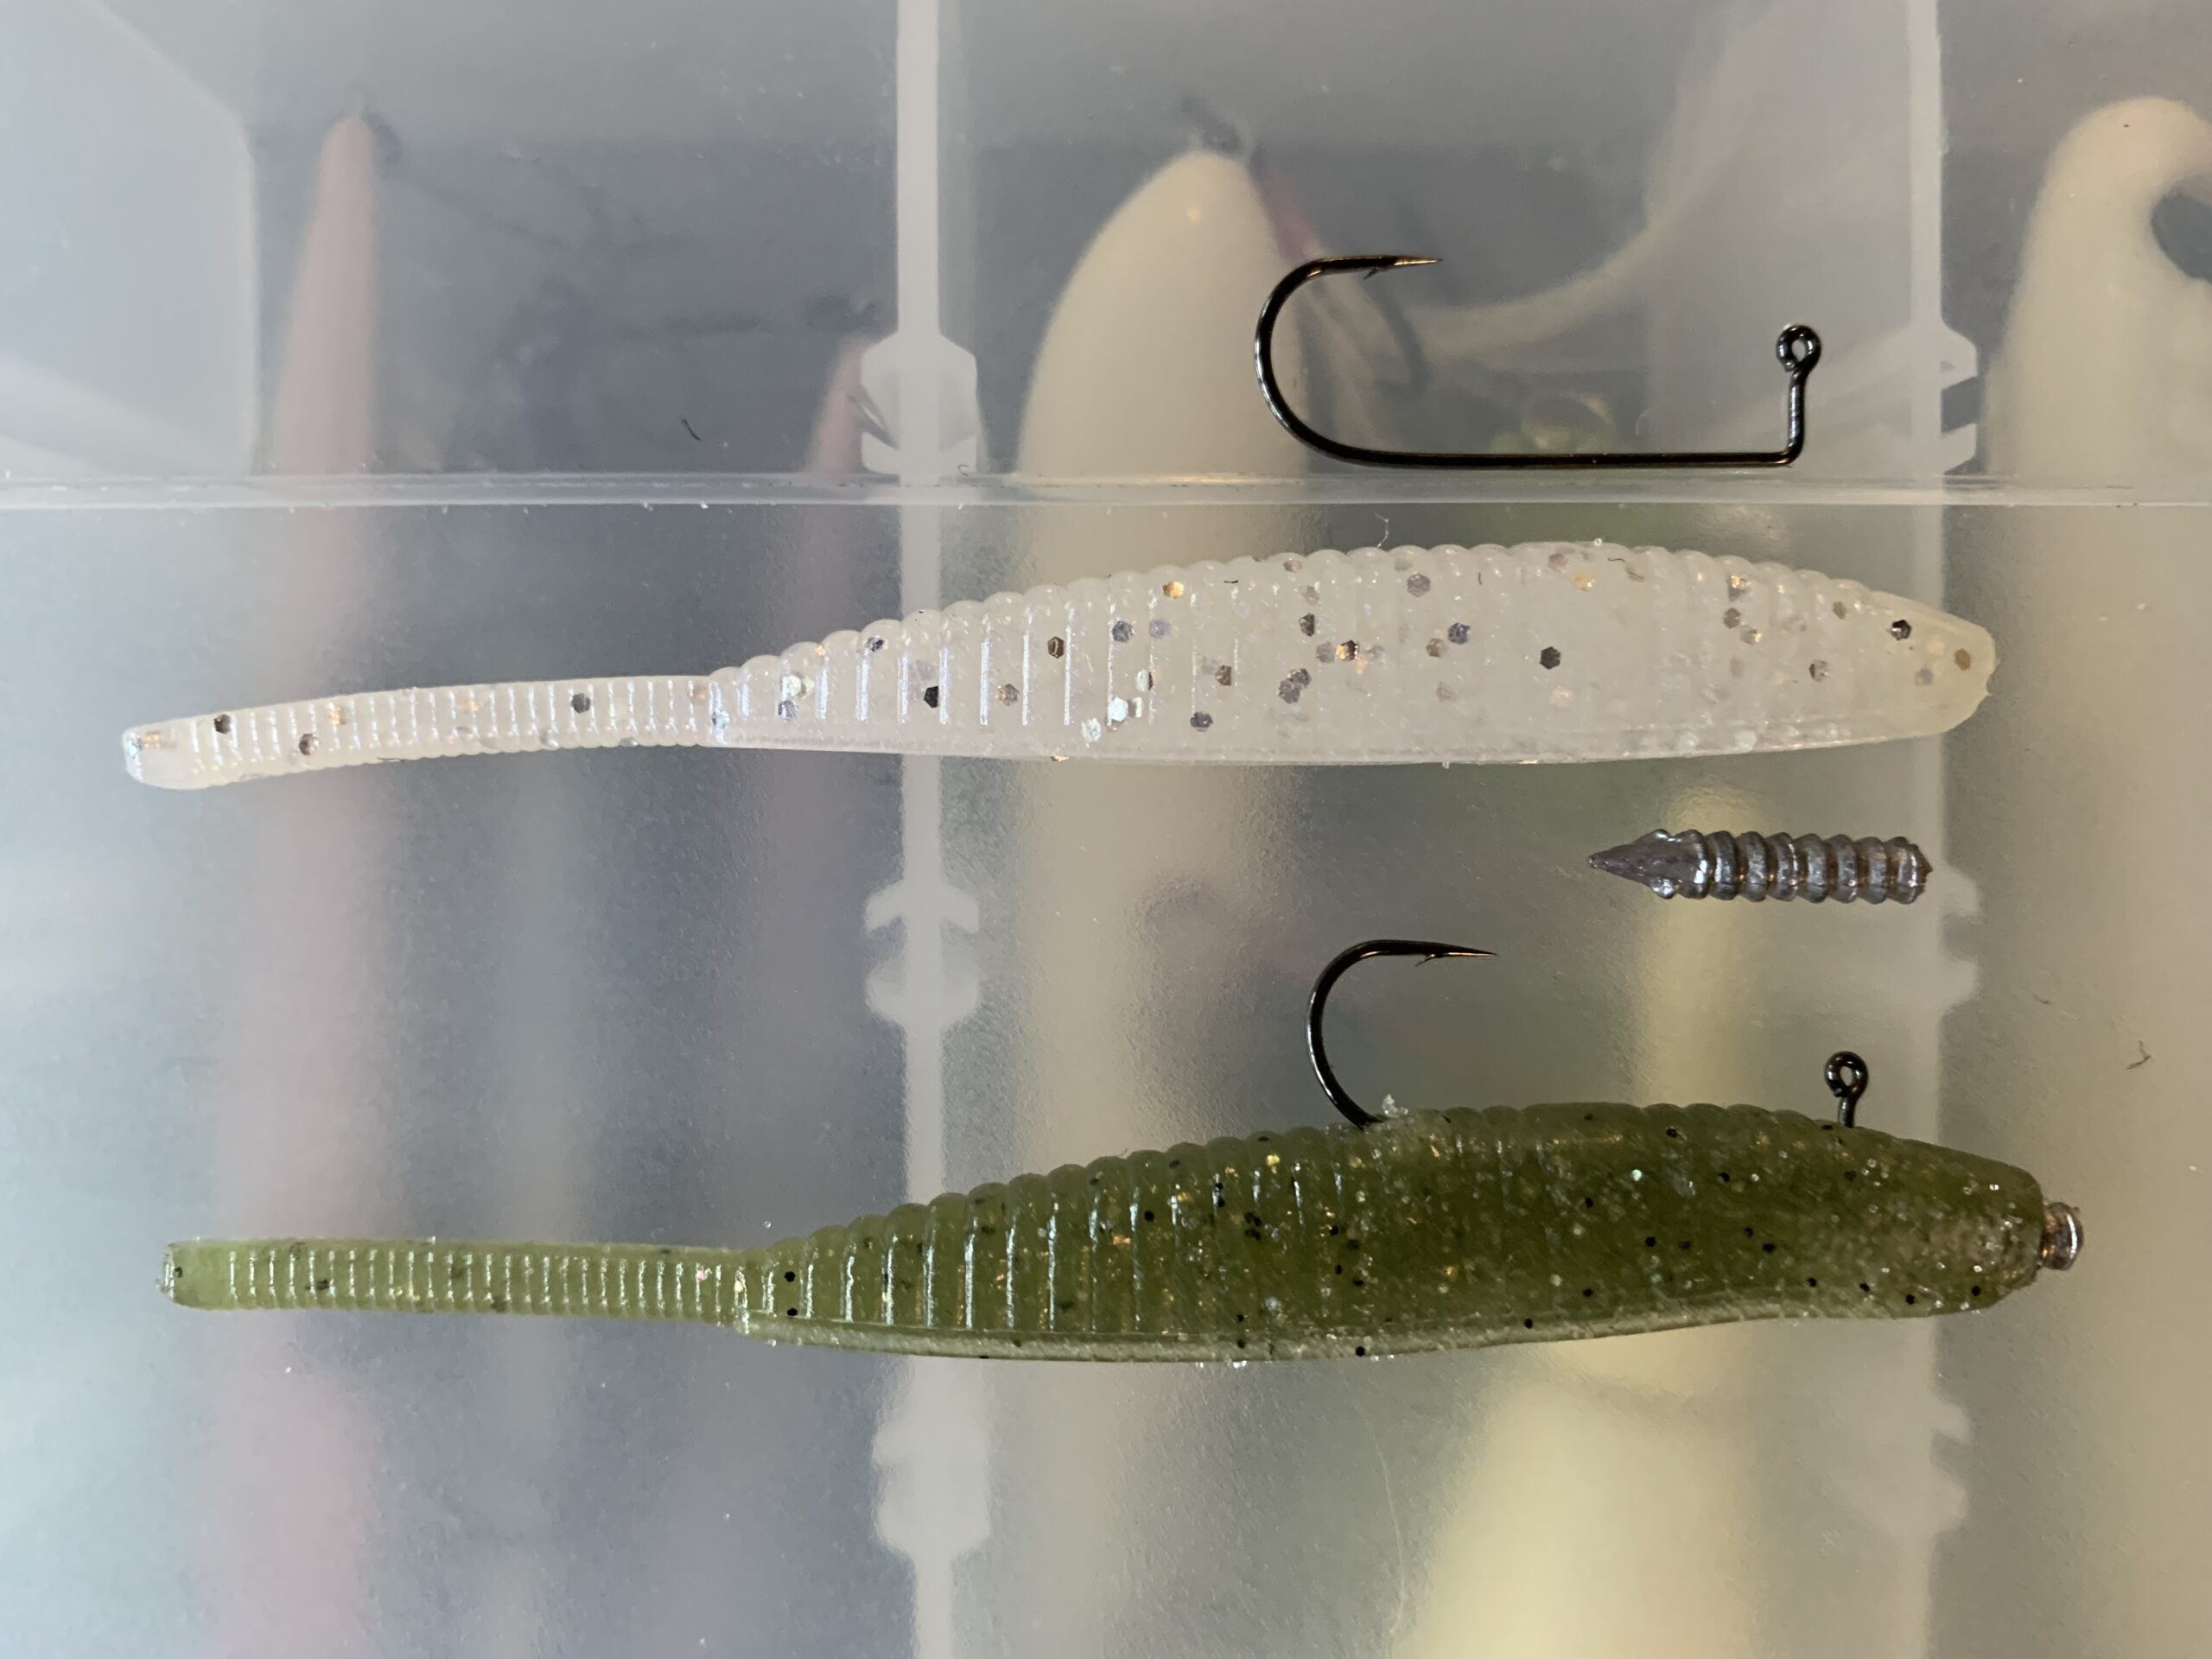
In textbook form, the hover rig is composed of three components: a small, 2- to 4-inch soft plastic minnow imitator; a 90-degree light wire jig-style hook; and a nail weight. My favorite soft plastic is a 4-inch blue pearl- or baby bass-colored Yamamoto Shad Shape Worm.
While there are specialty hooks designed for the hover rig, I have had good success using a No. 1 Gamakatsu 90-degree jig-style hook. I prefer to employ a small tungsten nail weight over a traditional lead weight. Tungsten is denser than lead, allowing me to use a smaller sinker to achieve the same weighting.
BUILDING BASICS
To construct the hover rig, start off by tying the end of the line to the eye of the hook. Next, insert the point of the hook into the top of the bait. A key to remember is to start the hook 1/8 to 1/4 inch behind the nose of the bait. Positioning the hook in this fashion allows the bait to maintain its horizontal orientation in the water. Thread the bait approximately halfway up the shank of the hook before carefully exposing the hook point in the top center of the back, making sure that the bait is rigged completely straight. To complete the rigging, insert the nail weight into the head of the bait below the hook. Adjust the size of the weight accordingly to compensate for the depth of the fish.
OBSERVATIONS
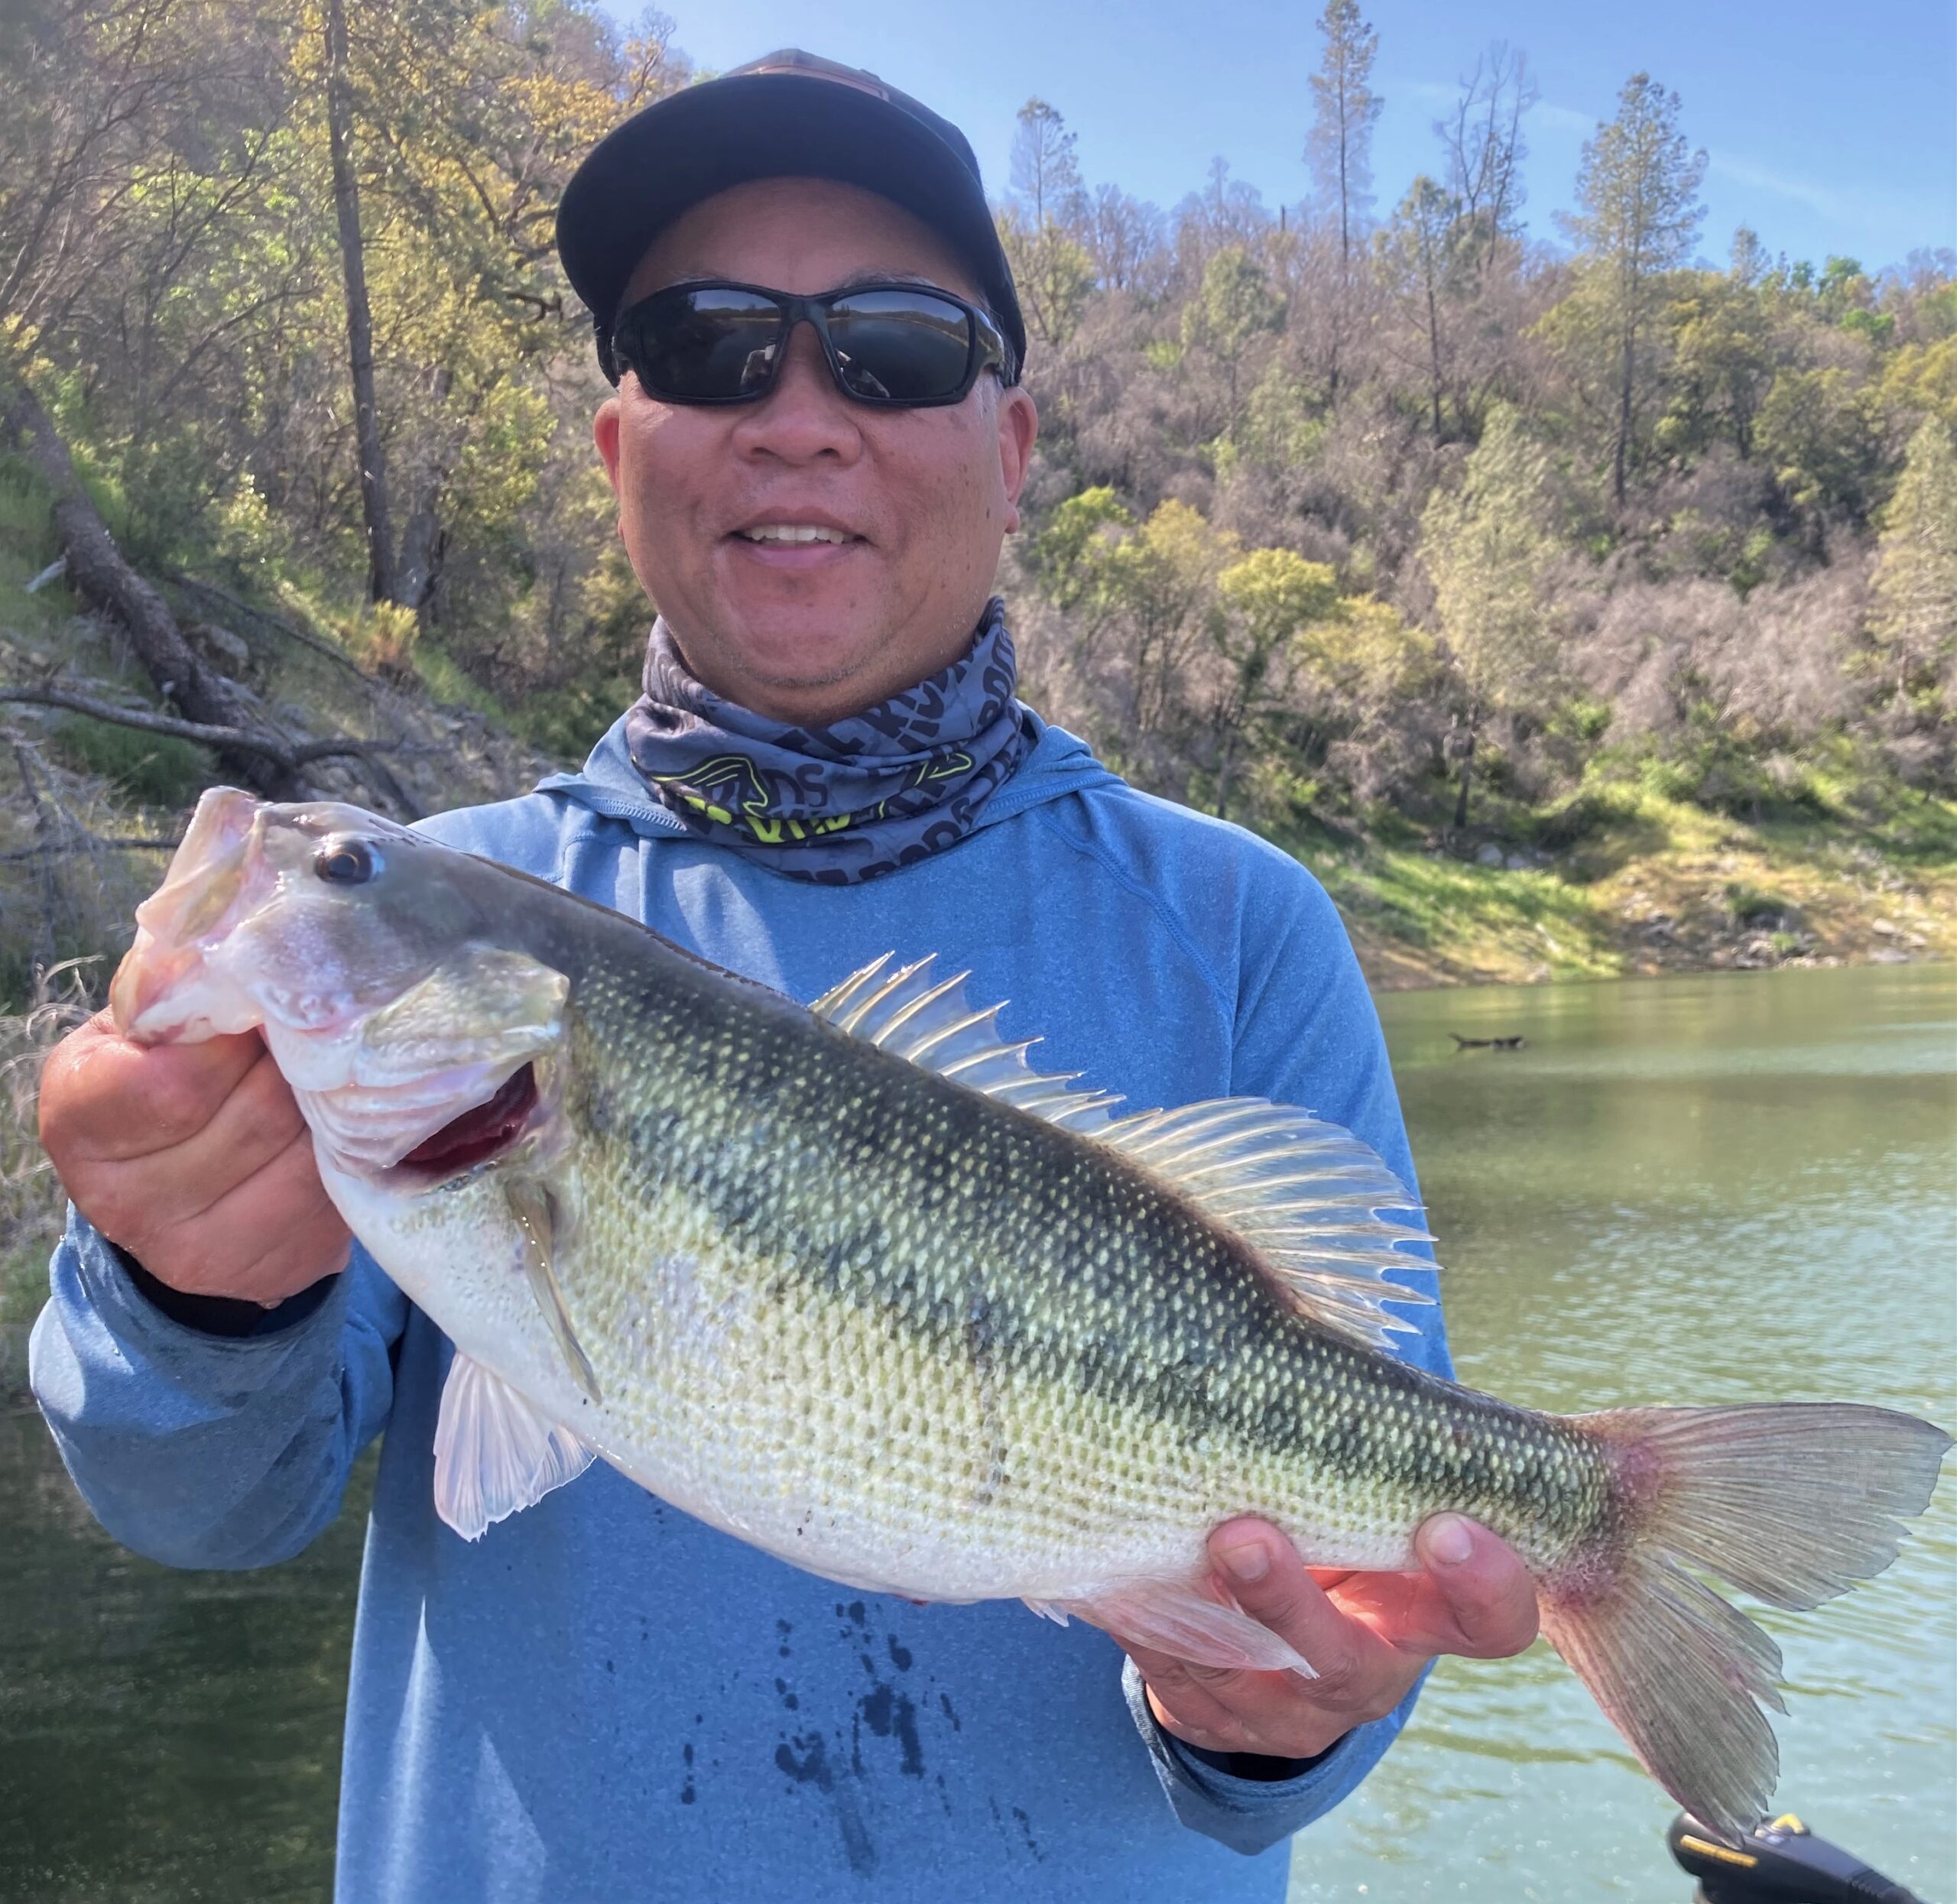
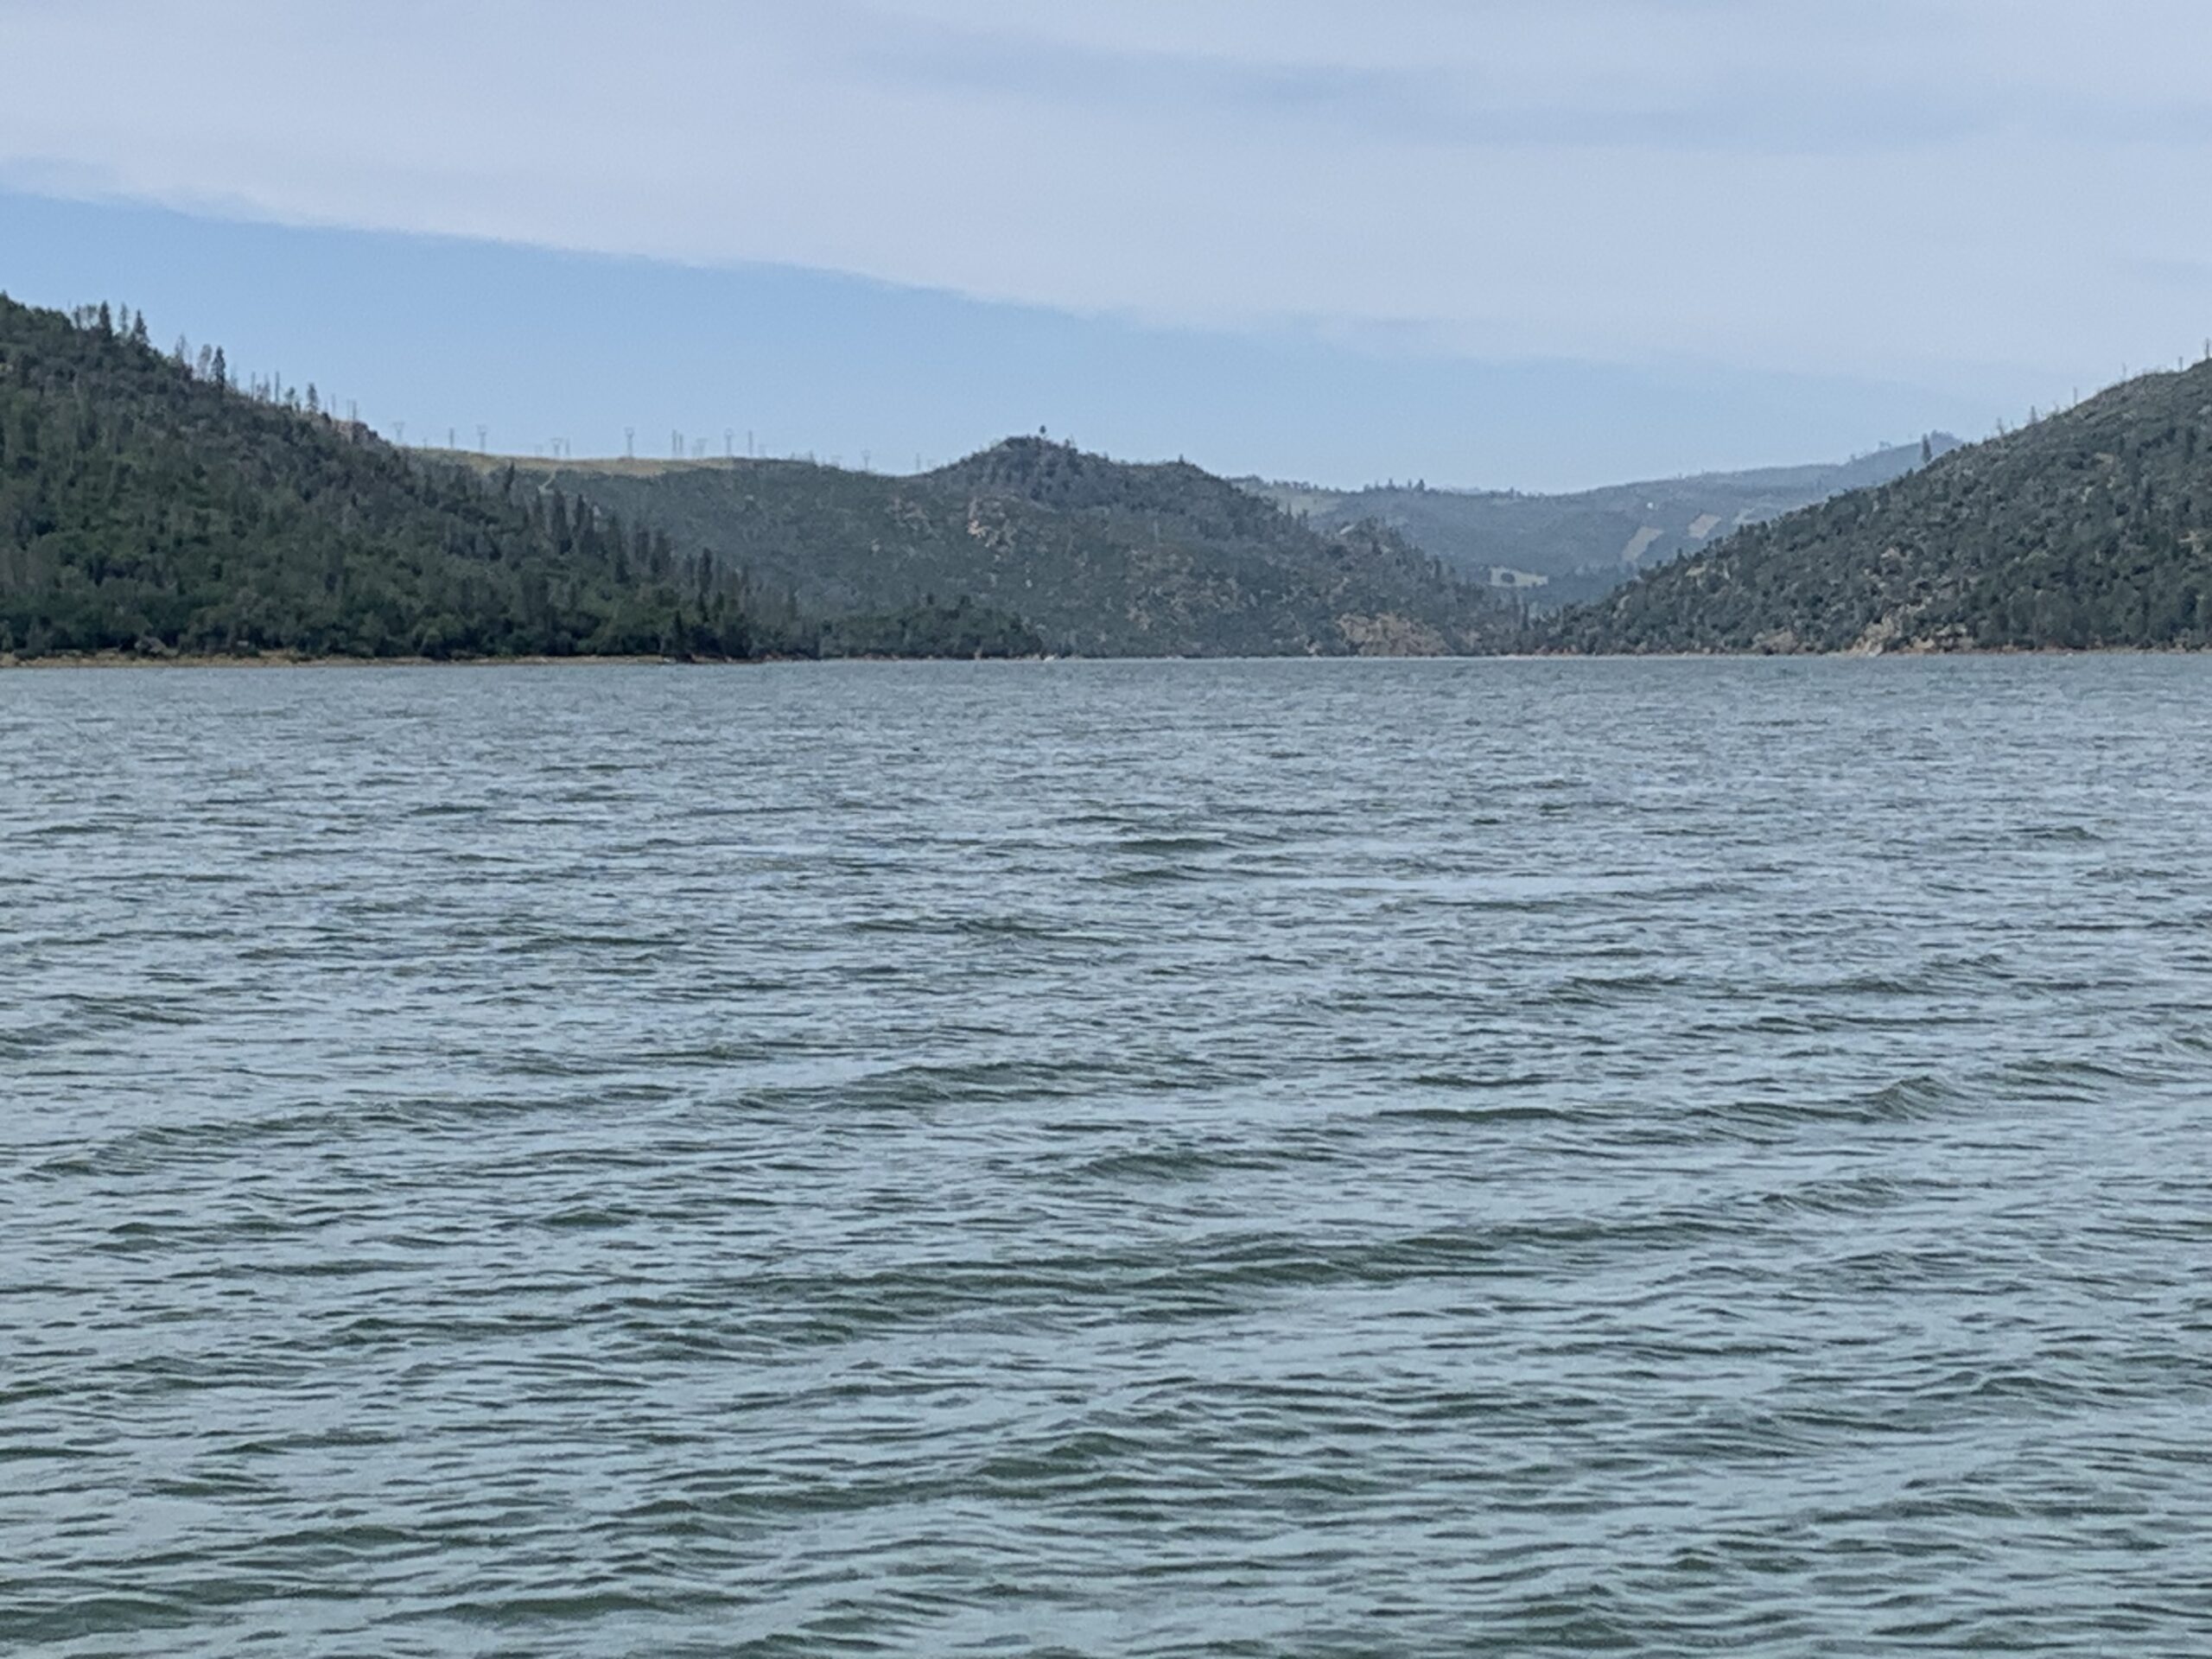
I have been experimenting with the hover rig for a while now and have had good success with it on the clear- water lakes and reservoirs around Northern California. It has proven to be effective on all three species of bass: largemouth, smallies and spotted bass. Good areas to fish it include steep rock walls, bridge pilings and points.
When the fish are relating to the bottom, I’ll fish it a lot like a Ned rig. I’ll start by making a long cast and letting it slowly glide to the bottom. If I don’t get a bite on the initial fall, I’ll slowly work the bait back to the boat by either dragging it or by lifting the rod tip and letting it glide and dart back to the bottom, pausing between each lift of the rod tip.
Perhaps my favorite application for the hover rig is to target suspended fish using my Livescope forward- facing sonar. Once I have located fish on my Livescope, I’ll make a cast to them. After the bait hits the surface of the water and begins to sink, I’ll watch it carefully on my graph. As it falls, I’ll watch to see how the bass are reacting to my bait.
If I see a fish or group of fish streaking toward my offering, chances are good that I am going to get bit. If the bass are less aggressive and just slowly swim up to the bait to investigate, that’s when I’ll keep my bait slightly above the level of the fish and start shaking my rod tip, which causes the hover rig to dart and wobble side to side, all while I slowly turn the reel handle to take up any slack.
While I won’t entice every fish that I target into striking, the hover rig’s unique action will get the best of many bass, and that’s the beauty of it.
ESSENTIAL GEAR
The hover rig is a very precise presentation, so it is important to use the right tackle. It took me a bit of experimenting with different rods before I settled on a 7-foot, 2-inch light-action Prolite Rod Technology spinning rod (SVX 72L-S) that I paired with a 2000-size Daiwa Kage spinning reel. I usually spool it up with 10-pound braid mainline and 7-pound fluorocarbon leader, but for this presentation I go lighter – 5-pound braid and 4-pound leader.
Using the hover rig’s basic framework, I was able to adapt it to suit my own fishing style. And as more and more anglers begin fishing the hover rig, it will only continue to evolve. Already we are seeing new hooks, jigheads and soft plastics designed specifically for the hover rig.
The hover rig is an easy and effective technique to learn. If you like catching bass – and who doesn’t – you owe it to yourself to give it a try. CS