A Passion For Potluck: S.F. Bay Is Full Of Anglers’ Options
The following appears in the June issue of California Sportsman:
By Cal Kellogg
Live bait in the form of frisky anchovies is what sets Bay Area ports apart from those along the Pacific Coast to the north and south.
The availability of live bait allows skippers to target the best-available action on any given day. When you lower a live anchovy into the waters in and around San Francisco Bay, you simply have no idea what sort of predator might come knocking.
It’s likely that halibut, stripers and rockfish are the most common fish that get targeted and hooked, but you could just as easily find yourself locked in battle with a big leopard shark or the prize of prizes, a hard-charging, great-eating white seabass!
Since potluck action with live bait is now underway at all major Bay Area marinas, this is a great time to take an in-depth look at how to hook up if you decide to jump aboard a charter boat in the coming weeks. And I strongly encourage you to do so, because potluck fishing is at once simple, productive and a lot of fun for newbies and old salts alike.

GEAR CHECK
Regardless of the species being targeted, live bait potluck fishing comes down to presenting baits from a drifting boat. While the technique for hooking various fish varies from species to species, the tackle used is pretty much the same whether fishing for halibut on the sand flat behind Alcatraz Island or working rocky humps for rockfish.
I generally bring along two rods, and I advise you to do the same, when embarking on a potluck adventure. Your main rod needs to be spooled with 40- to 65-pound braid and capable of handling sinkers up to 12 ounces. Since bites can be light, you’ll want a sensitive tip, but it must have the power in its lower section to lift a husky fish off the bottom. Your second rod should be either a light baitcasting or spinning outfit to employ when the conditions allow you to use a light 1- or 2-ounce sinker.
Whether you choose a spinning or baitcasting outfit for your finesse rig, it needs to be able to handle the aforementioned sinker sizes, and you should also be capable of casting it a fair distance with only a couple of large split shots or a medium-heavy, rubber-core sinker for weight. This is important when boiling stripers show up and you need to make a cast with minimal weight to get your bait to the feeding fish.
Fishing live bait is done from a drifting boat, with the terminal tackle basically the same for all the species commonly targeted. The standard setup consists of a three- way swivel with a 36-inch, 25-pound fluorocarbon leader tipped with a 1, 1/0 or 2/0 live bait hook, which gets tied on a perfection loop connected to one of the swivel’s eyes. To the second eye, attach a short dropper of 10-pound mono with either a loop or cheap snap on the other end.
Your sinker is attached to the dropper. The dropper is made of light line so that in the event you snag up it will break before your leader or main line does. That way you’ll only lose the sinker. This is especially important if the sinker ends up getting snagged while you’re fighting a fish. Sure; you’ll be out a sinker, but that fat halibut or striper in the fish box will more than dull the pain!
Live bait rigs are available at most ports and tackle shops that cater to saltwater anglers, but it is a simple matter to tie your own, which is what I recommend. I’ve been tying my own leaders for as long as I can remember and think it offers distinct advantages. I can make use of fresh, premium-quality, abrasion-resistant monofilament. I also use only the highest-quality hooks from Owner and Gamakatsu. Finally, tying my own leaders allows me to tweak them for special situations.
For example, I prefer to use red light wire octopus hooks over standard live bait hooks on the leaders I team with my lightweight rod. I firmly believe that the red hook results in more strikes and the light wire hook translates into a livelier and stronger swimming anchovy. And the light wire hook provides better penetration than a standard live bait hook when teamed with a light rod. You won’t find these hooks available on any commercially tied rigs.
When it’s time to fish, the deckhand will tell you how much weight to use. After the weight is in place it’s time to bait up with a live anchovy. The more healthy and lively your bait, the better your chances of hooking up, so you can hopefully select a frisky bait with a green back and perfect scales.
While gripping the bait lightly, take your hook and pin it up through the anchovy’s lower jaw and out through the tip of the nose. Don’t go too deep or you’ll hit the little guy’s brain. There are several different ways to hook live bait depending on how you want them to swim, but the way I’ve described is used most often and best for most situations.
Now let’s take a look at how to present your bait for the various game fish you might be targeting throughout the day.

HALIBUT
Halibut are the top targets on most potluck trips, so here’s how to set yourself up. With your live bait in place, ease the rig into the water and lower it to the bottom slowly to avoid tangling the leader. When you feel the leader hit the bottom, engage the reel and get ready for action.
Typically, a bite from a halibut looks and feels a lot like a snag. One second the rig is dragging freely across the bottom, and the next thing you know the tip of your rod begins to draw down.
When halibut hit in this manner, seldom is it necessary to set the hook. They simply gulp down the bait and the movement of the boat draws the hook into their mouth. When this happens, all you need to do is begin working the reel and focus on keeping the line tight.
There are times when halibut don’t bite as aggressively as we’d prefer and it takes some technique to hook them when they are finicky. You’ll know when they are playing hard to get because the fish will grab the bait by the tail and the movement of the boat will pull the bait away from them before they get the hook into their mouth. The result of this is baits that come back to the boat sporting tooth marks and damaged tails.

When halibut are biting aggressively, you can put your rod in a holder and wait for it to double over, signaling that a fish has been hooked. When they are tentatively grabbing the bait by the tail, you need to hold your rod and play out the bites you get.
In general, when halibut are hitting tentatively, the bite will start out with a few light taps. When you feel those taps, drop the reel into a free spool or open your spinning reel’s bail. You want to feed out some line while thumbing the spool. You don’t want a bunch of slack to develop; you simply want to release line at the same pace the boat is drifting. This way the rig will lie on the bottom, giving the halibut time to swallow the bait. Typically, a 10-count will give them all the time they need. After you think you’ve fed out enough line, re-engage the reel, allow the line to tighten and then set the hook.
Once you hook a halibut, there is a trick to playing them for maximum success. Some guys feel the weight of the fish and really want to go to work on them by pumping up the rod and reeling down to bust them off the bottom. This is the worst thing you can do. Halibut are extremely powerful fish and capable of wild, lightning-fast bursts of speed. If they bolt away while aside the boat, a number of things can happen, and none of them are good!
The proper technique when fighting a halibut is to keep the rod level with the boat’s rail, allowing its tip to keep the line tight and cushion any head shaking as you steadily work the reel. When using this approach, the hooked fish will almost always glide right up to the surface and the waiting net. If the deckhand is busy and doesn’t arrive next to you before the halibut appears, don’t allow its head to break the surface. Instead, let it hang out beside the boat. Amazingly, the fish will usually sit in the water column until the net or gaff arrives.

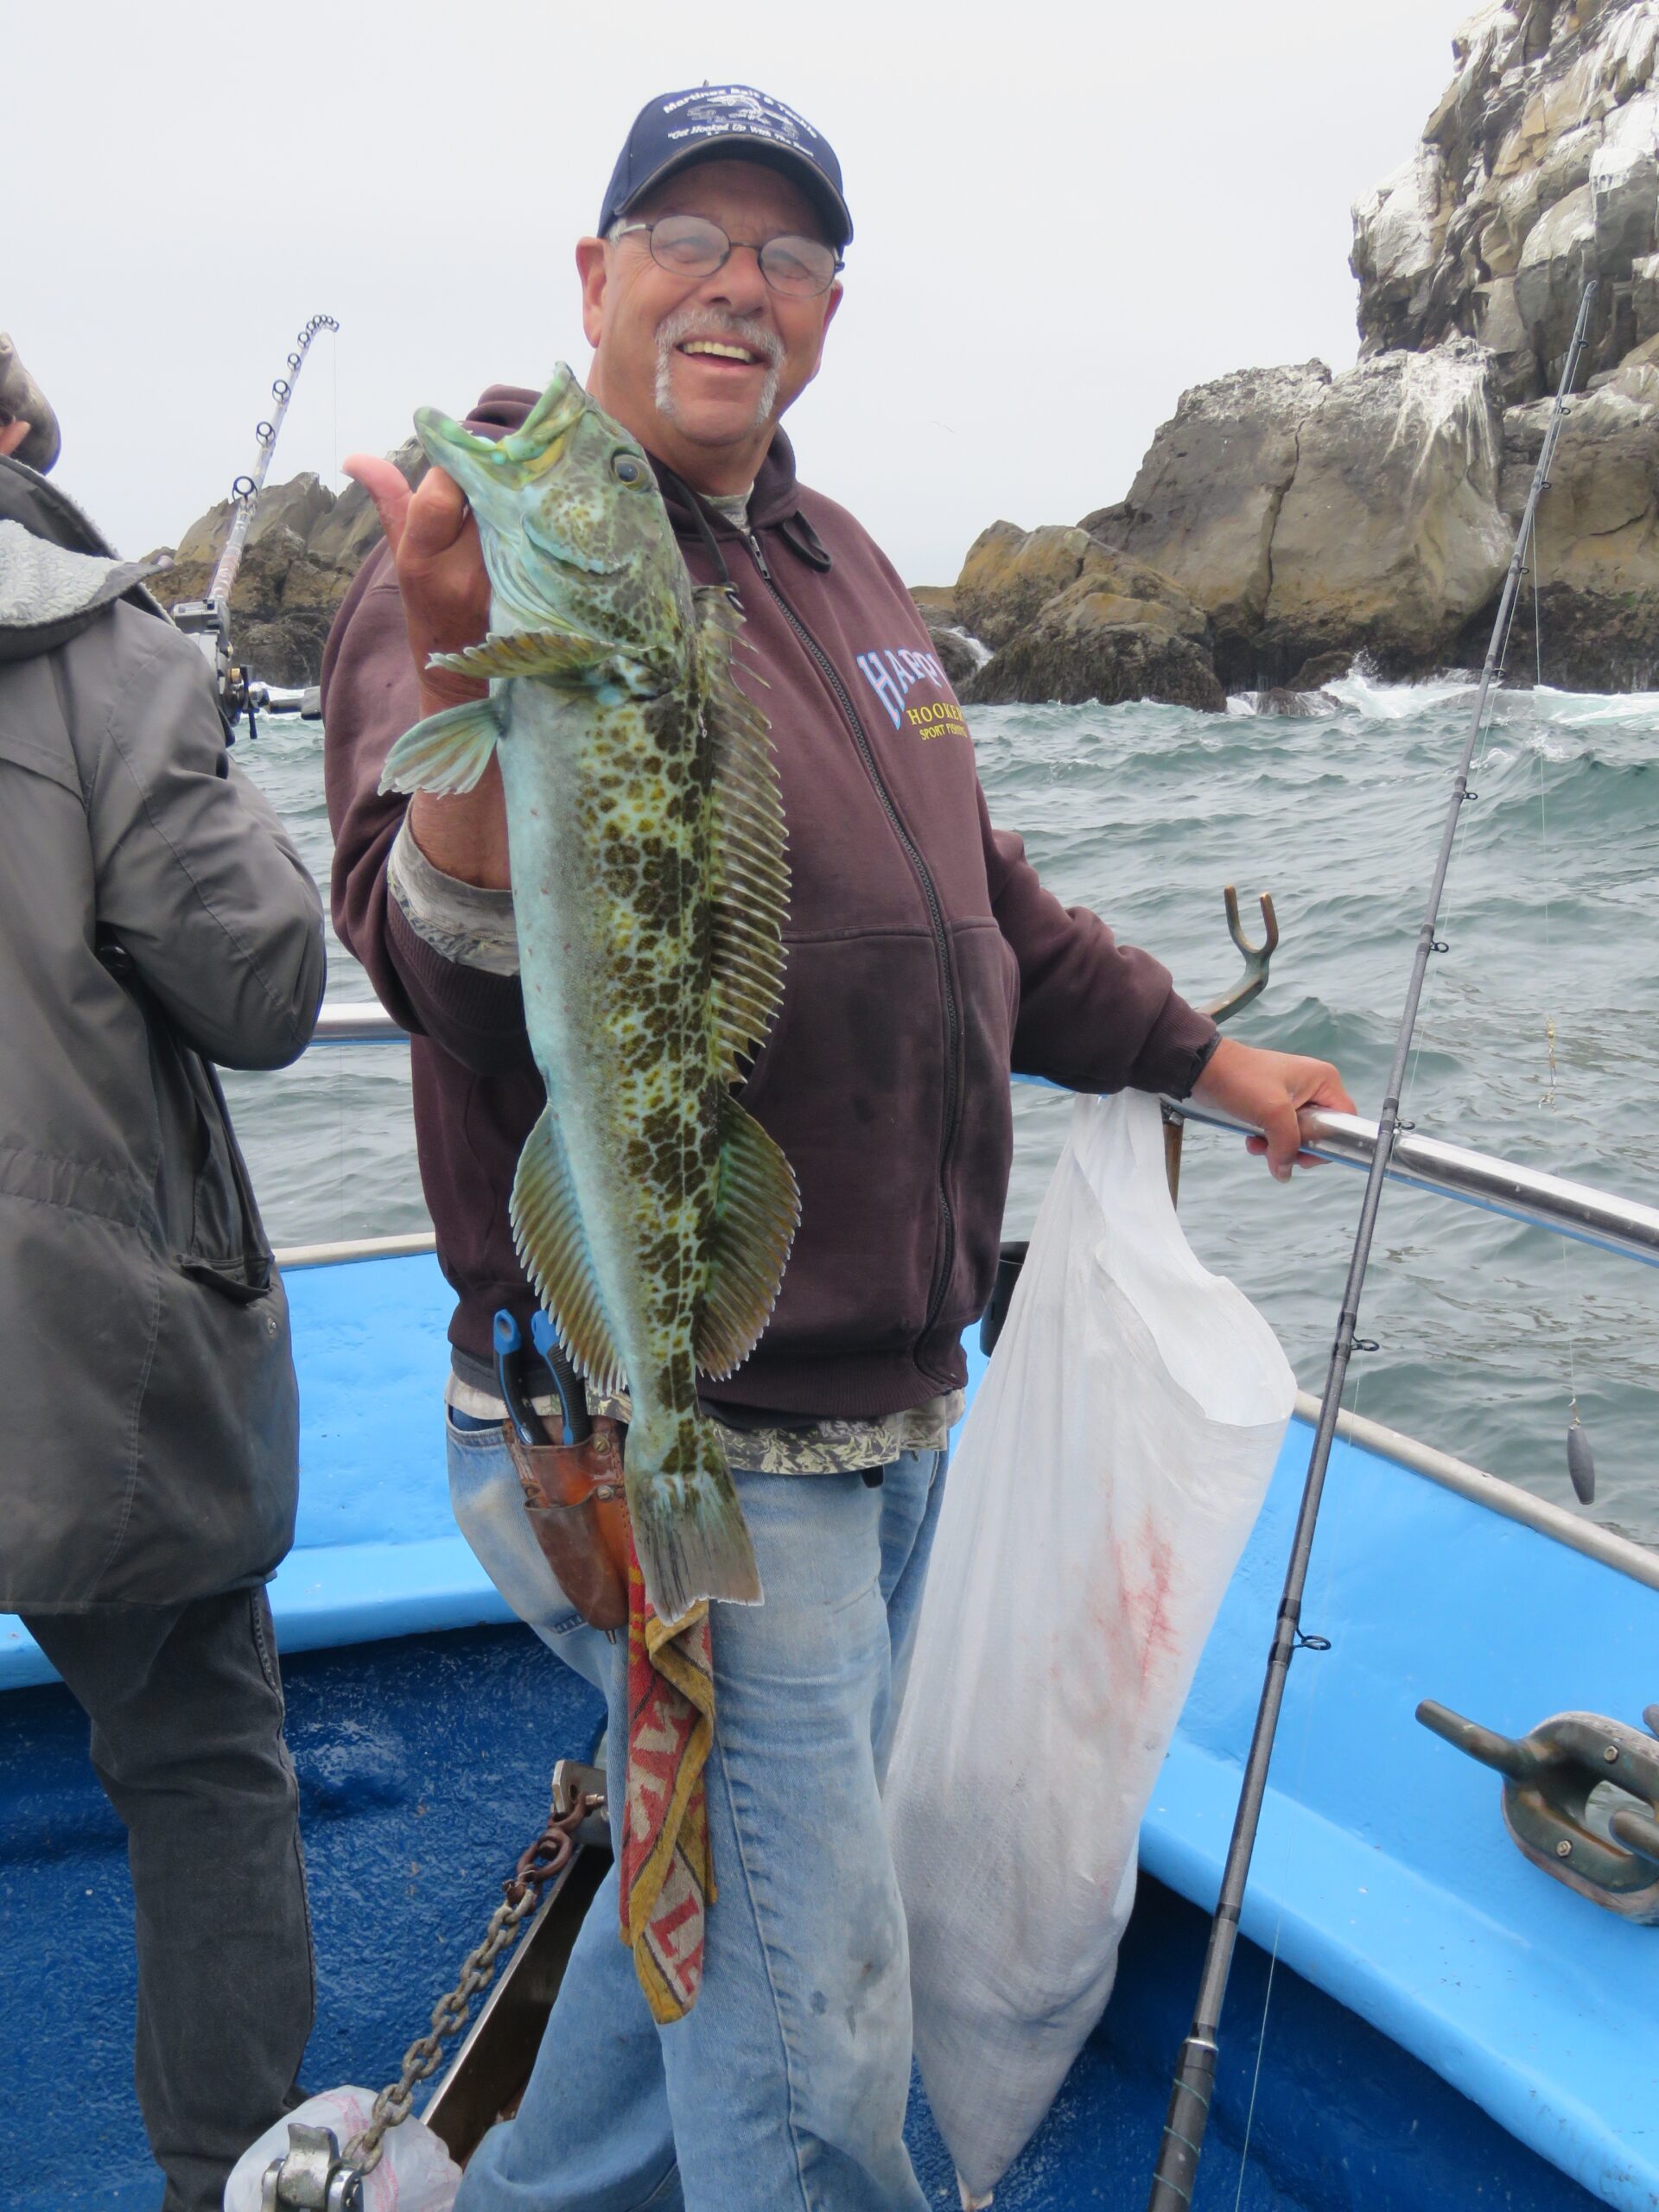
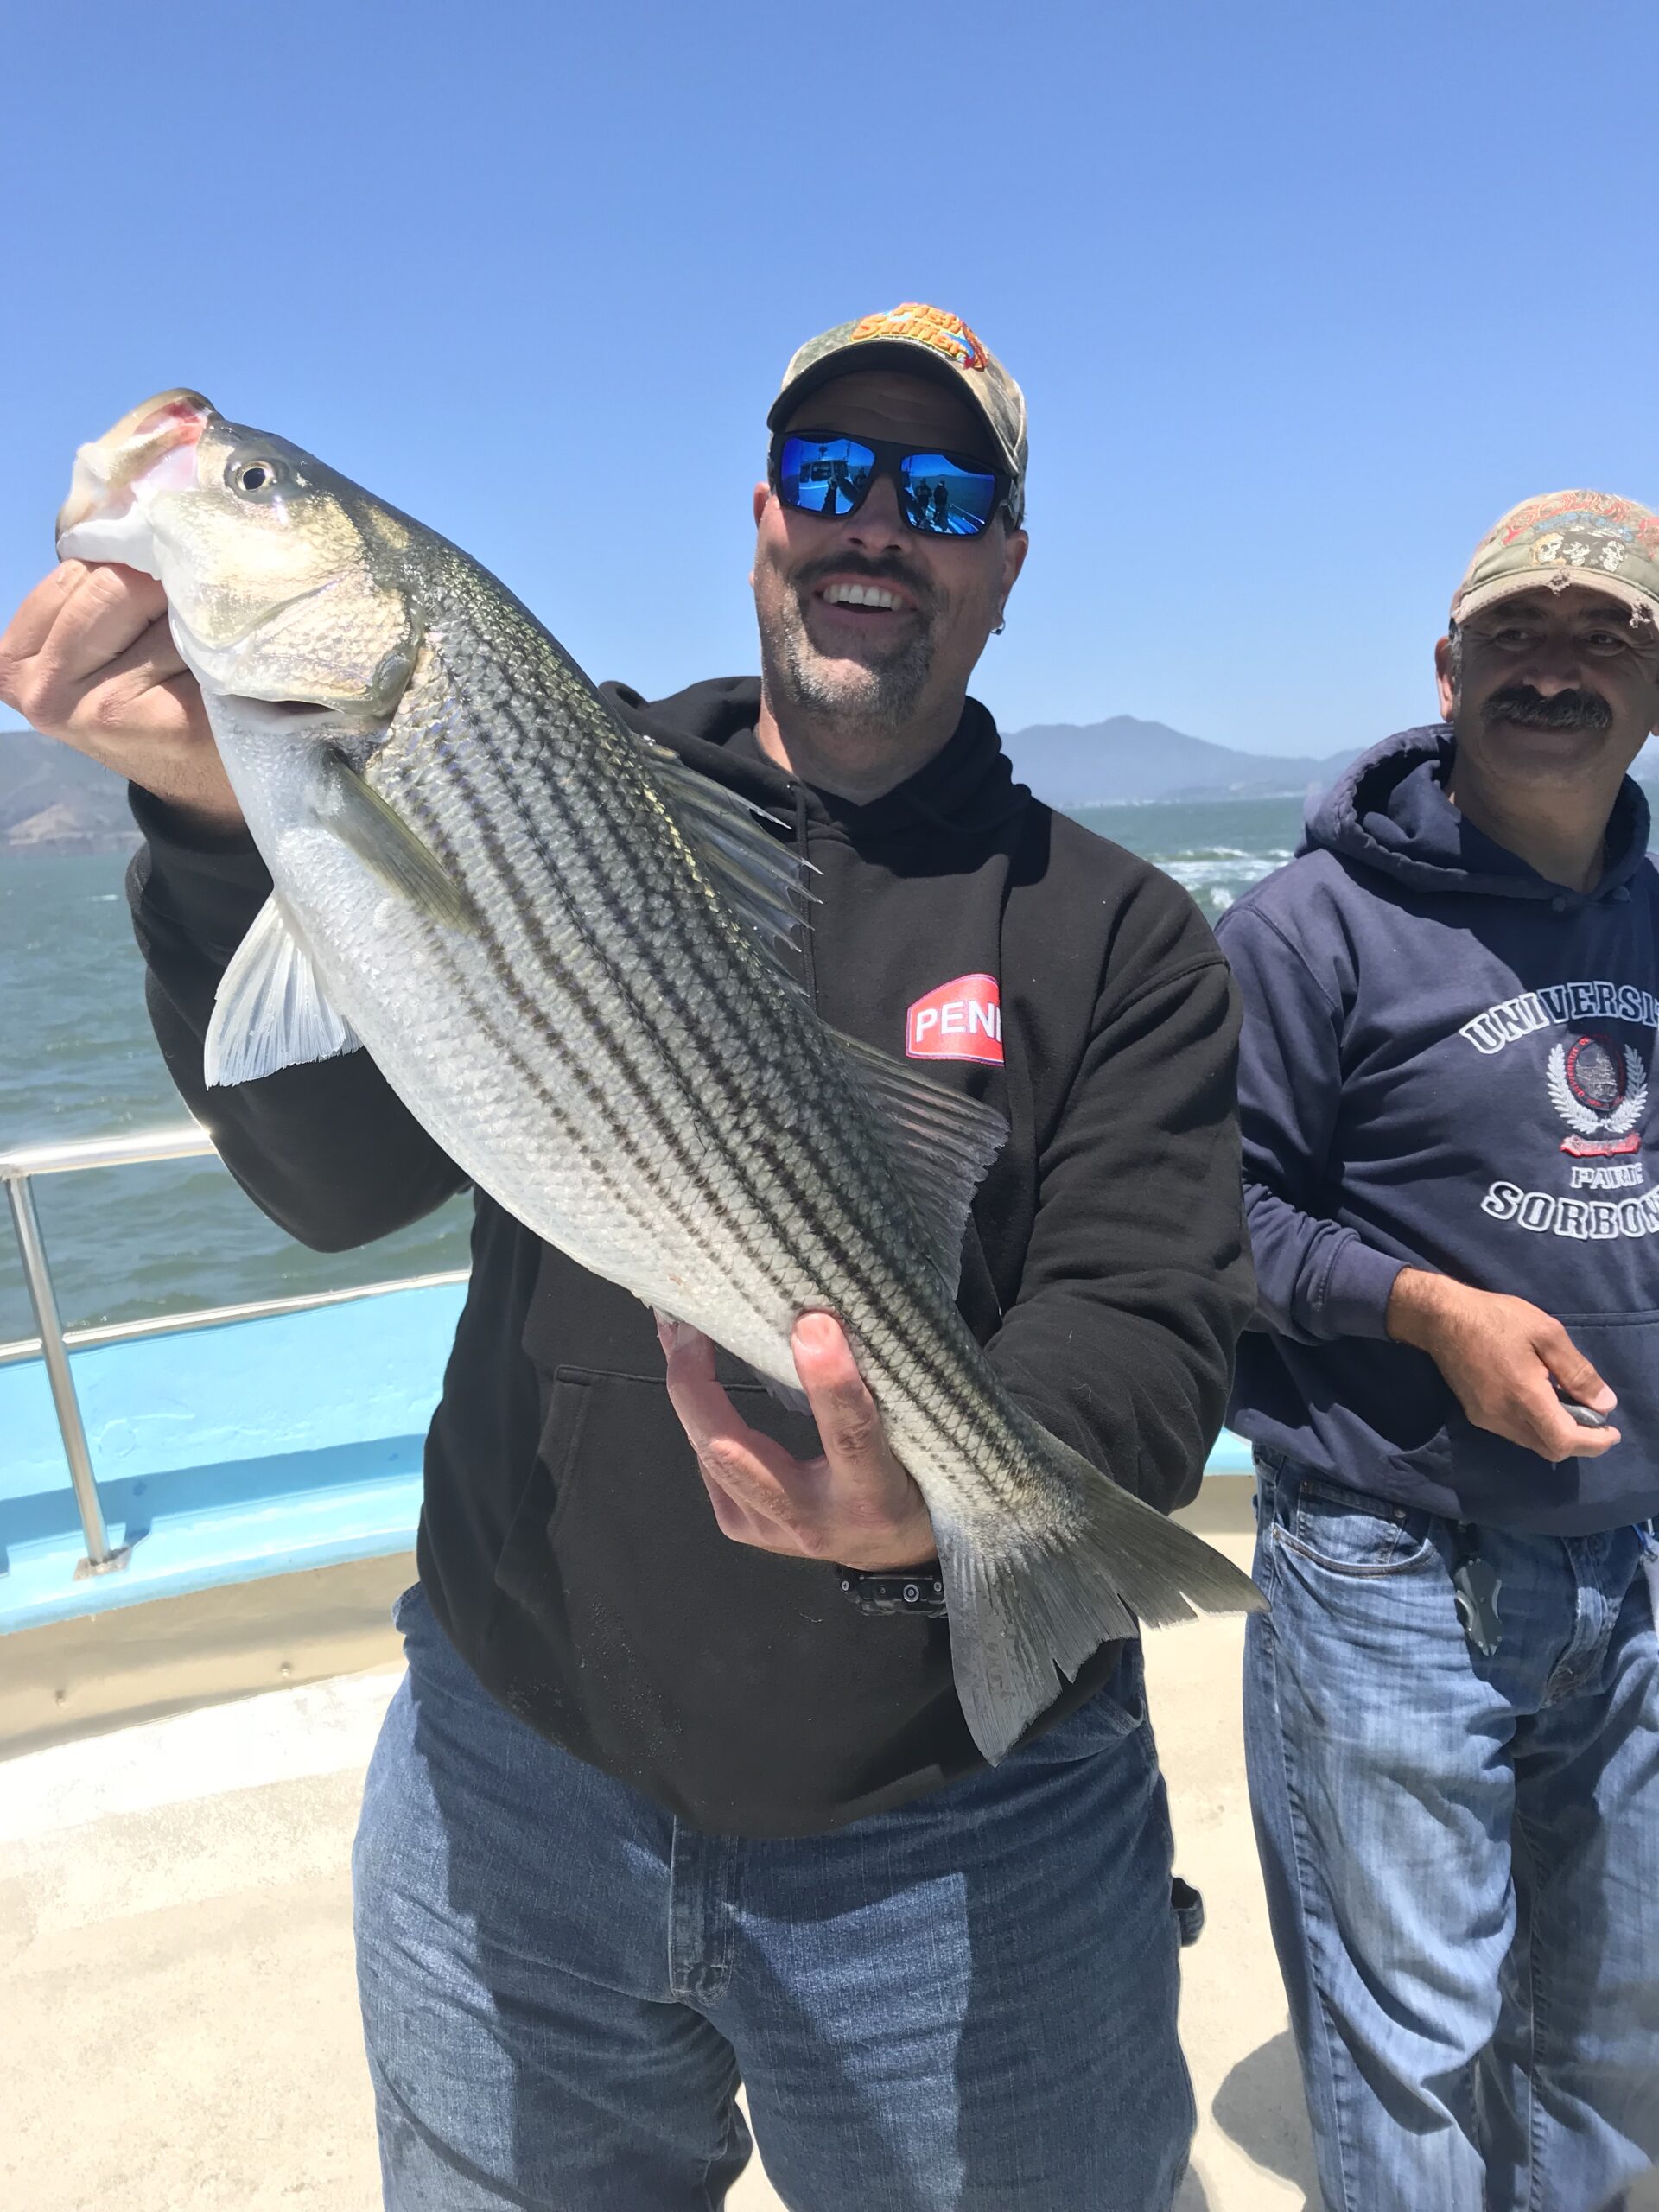
STRIPERS, ROCKFISH
It’s common to pick up the odd striped bass, rockfish or even a lingcod while drifting across hard sand or gravel bottoms, but when targeting bass and rockfish, you’ll almost always be working over a rocky, craggy bottom or reef. If targeting stripers, there will likely be some pretty stiff current too. Working rocks or rocky areas means the current is a lot more interactive than drifting snag-free sand for halibut. Since rocks create snags, those snags can come up quickly when the current is surging.
The key to avoiding snags in these situations is to not drag your gear across the bottom. When working large, rocky areas for stripers or rockfish, the proper technique is to bounce your sinker along the bottom with a series of controlled lifts and drops. This approach keeps your bait moving at the same pace as the boat without allowing the sinker to drag and lodge in the rocks.
You’ll often find big schools of stripers holding on the rocky reefs to the west of Alcatraz during the month of June. To work these fish, I like to drop my rig to the bottom, and as soon as I feel the sinker hit the rocks I’ll reel the rig steadily back toward the surface. When bass are aggressive, your bait seldom makes it far off the bottom before being inhaled. Fish on!
Schooling rockfish beyond the Golden Gate can be worked in the same way using a drop-and-reel approach; however, I tend to use the bouncing technique because the largest rockfish and lingcod tend to hold tight to the bottom. Keep your live anchovy in that near-bottom strike zone and you can stack up some very nice rocks and lings. They don’t call it potluck for nothing. CS