Instructions on Deer Hide Tanning
There are many ways to tan a deer hide, some use chemicals, but a simple way is using household items like salt, baking soda and vinegar. Here’s a simple step-by-step from the group at Outdoor Life.
Step 1: Flesh the Hide

Remove as much of the meat from the hide as possible.
Step 2: Soak the Hide
Soak in a lye solution for five days. It will be ready when you can pull the hair out with ease. Wear rubber gloves and a face shield for protection during this step.
Step 3: De-hair the Hide
Scrape and pluck off all the hair on the hide.
Step 4: Remove the Grain and Membrane
Once the hide is fully de-haird, continue to scrape. Remove the grain from the grain side (hair side) and remove the membrane on the meat side.
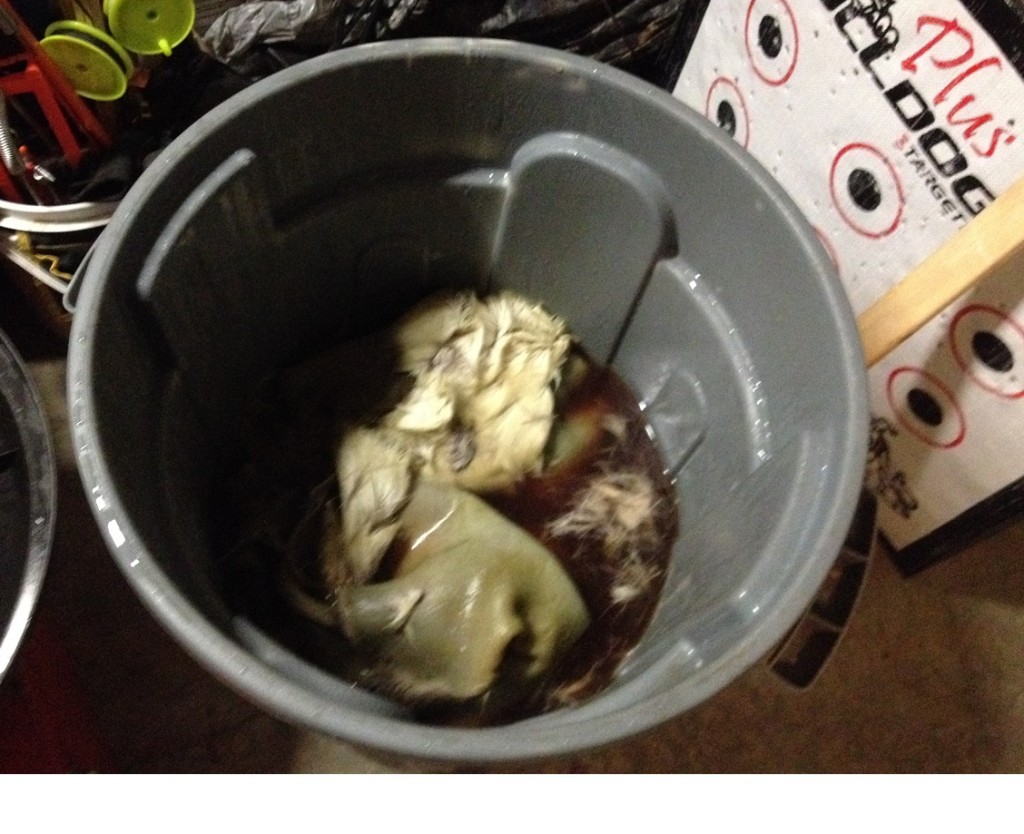
Step 5: Neutralize the Lye
In a bathtub or large bin, soak the hide in water and vinegar overnight. Repeat a few more nights in only water. Wring it out each night to encourage water to soak in. Continue scraping off any grain or membrane you missed.
Step 6: Wring the Hide
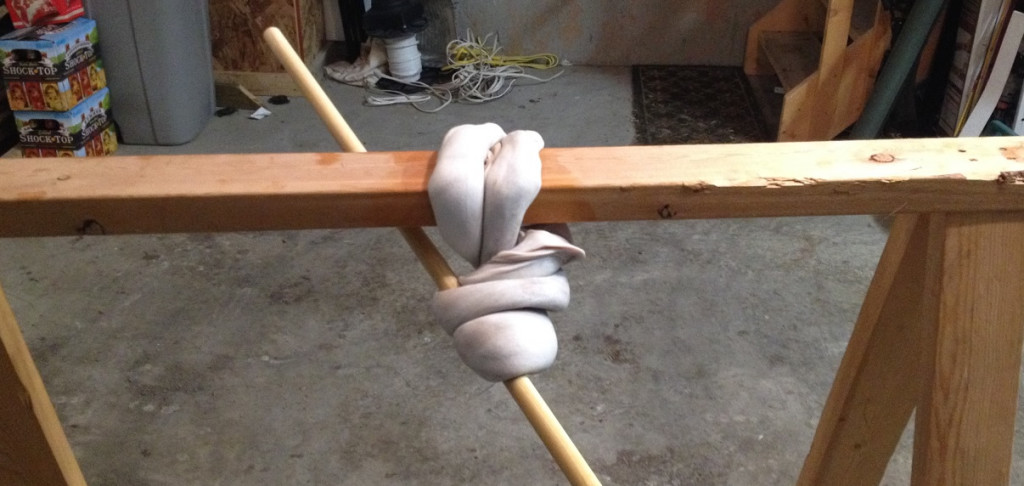
Hang the hide from a horizontal pole and flip it over itself. Roll it up from each end into a double donut and then twist. Spin the donut a quarter turn and repeat 3 more times to get out the water out.
Step 7: Blend the Brain
This is only if you want to do an authentic brain tan. Mash or blend it up.
You can use eggs, soap, mayonnaise, or olive oil instead.
Step 8: Brain Tan the Hide
Add the brain to a couple gallons of water and soak the hide in it overnight. Wring it out and catch the drippings. Repeat this twice.
Step 9: Sew Up Any Holes
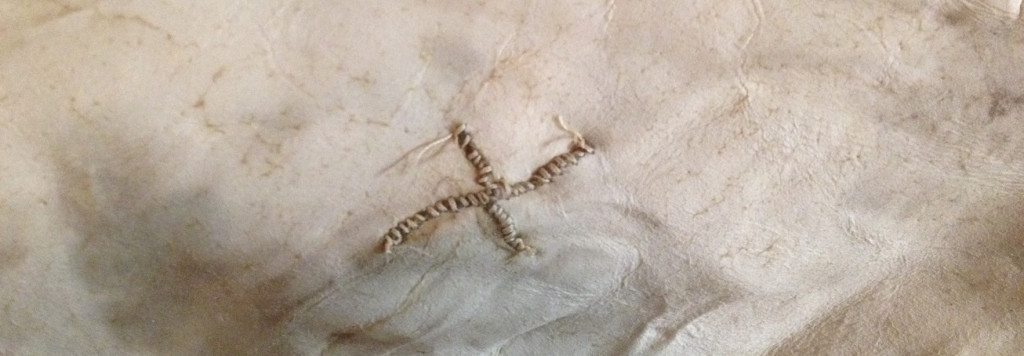
In this picture a tan colored upholstery thread and a glover’s needle were used.
